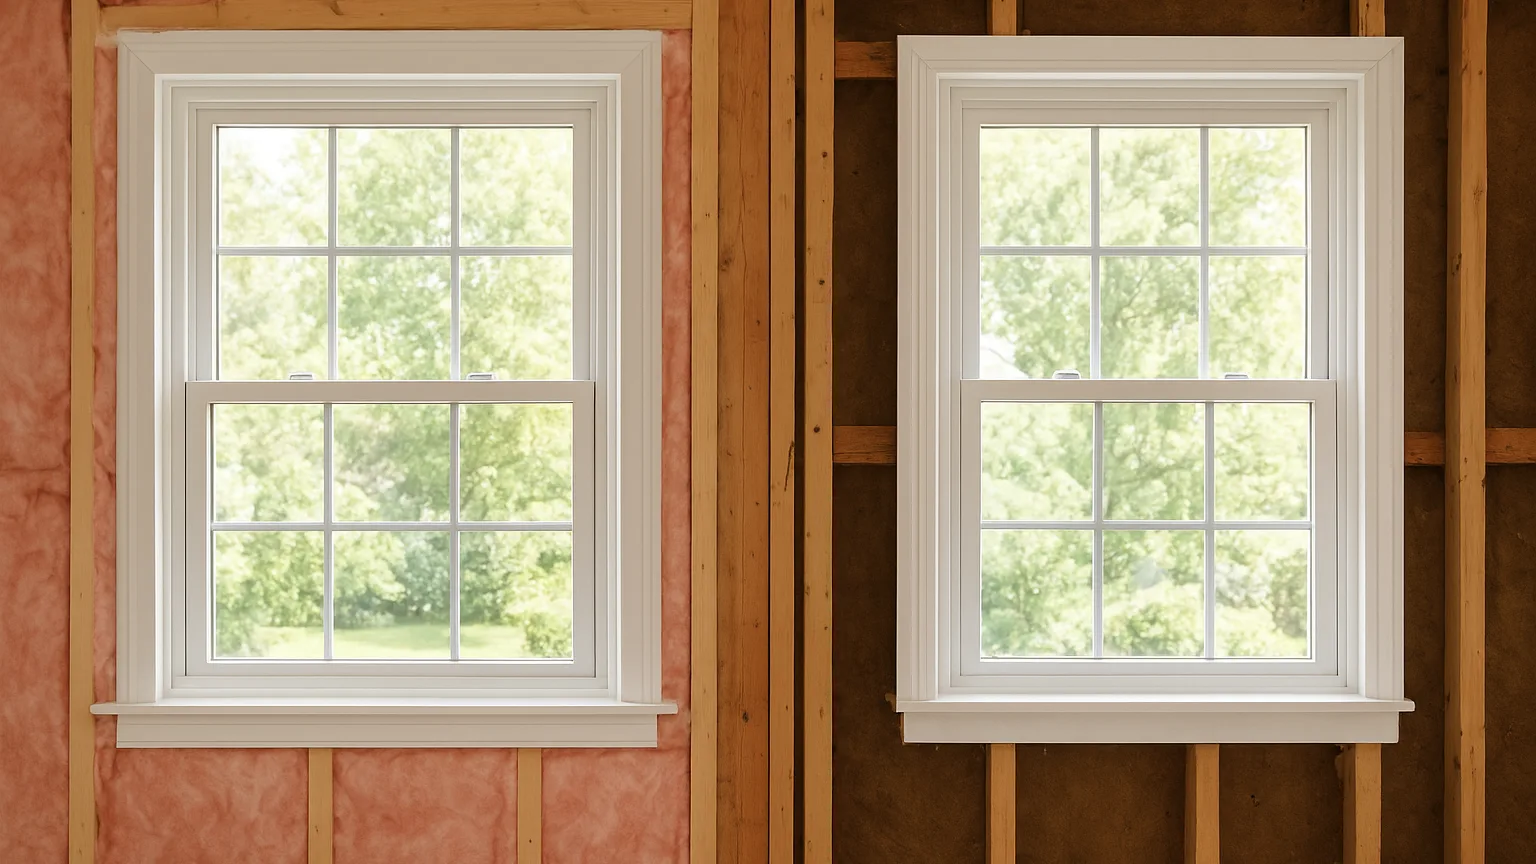
There is a moment in every roof or whole-home remodel that lasts about three days. The sheathing is down, the framing is exposed, the attic is open, and the walls have no drywall on them. During those three days, adding everything your house needs to accept solar panels later costs somewhere between a few hundred and about fifteen hundred dollars.
Wait until after the shingles go on, and the same work runs five to twelve thousand. Nothing about the parts changed. The labor changed. Someone now has to cut, patch, paint, seal, and re-flash work that could have been done in open air with a nail gun.
This is the part of solar nobody sells you, because there is no product to sell. You just get a house that is ready, and a bid three years from now that comes in thousands lower than your neighbor's.
The Real Cost Is Access, Not Hardware
Homeowners tend to think solar pricing is about panel prices. Panels are the commodity part of the job. What drives your quote up or down is how hard it is for a crew to get power from your roof to your electrical panel without wrecking your house. On a finished home, an installer needs a path for conduit from the array to the inverter and then to the main panel. If there is no chase, they run it on the outside of your siding in a metal tube, or they cut into finished walls and ceilings. Neither option is cheap or pretty.
“The number that surprises people is not the equipment, it is the labor to reach the equipment,” says Marcus Villarreal, senior project engineer at a firm focused on clean energy project development. “A pre-built chase turns a two-day fishing job into a twenty minute pull.”
That is the whole idea behind roughing in solar. You are not buying solar. You are buying easy access, permanently, at framing prices.
What Gets Locked Out Once the Roof Is On
Some decisions become expensive to reverse. Others become nearly impossible. Here is what quietly disappears the day the last shingle is nailed down:
- Truss and rafter reinforcement. Panels, racking, and rails add roughly three to five pounds per square foot, and older framing or long spans sometimes need sistering. With the attic open it is simple carpentry. Later it means working on your back in a hot crawl space around insulation and ductwork.
- Blocking at mount points. Solid blocking between rafters gives lag bolts something real to bite into, and gives the installer flexibility in array layout instead of forcing panels wherever the rafters happen to land.
- Interior conduit runs. Once drywall is up, that path costs drywall repair, texture matching, and paint in rooms you just finished.
- Roof penetration planning. Flashing installed with the roof is warrantied by the roofer. Flashing cut in afterward becomes the gray area where leaks and finger pointing live.
- Panel and subpanel sizing. Upgrading a 100 amp service to 200 amp during a remodel folds into work already happening. As a standalone job later, it is a permit, a utility appointment, and a full day of trade labor.
None of these items are exotic. They are ordinary construction tasks that only look expensive when they happen out of order.
Say This to Your Contractor, In These Words
Most contractors will not volunteer solar prep, because it is not in the scope you signed. The same silence shows up on the plumbing side, where one plumbing call can quietly close the door on solar hot water for a decade. Bring it up at the pre-construction walkthrough, before demo starts, so it lands on the framing plan rather than the punch list. Keep it specific:
- "I want the roof structure rated for future solar loading." Ask for the framing to account for an added dead load, with any reinforcement done while the attic is open.
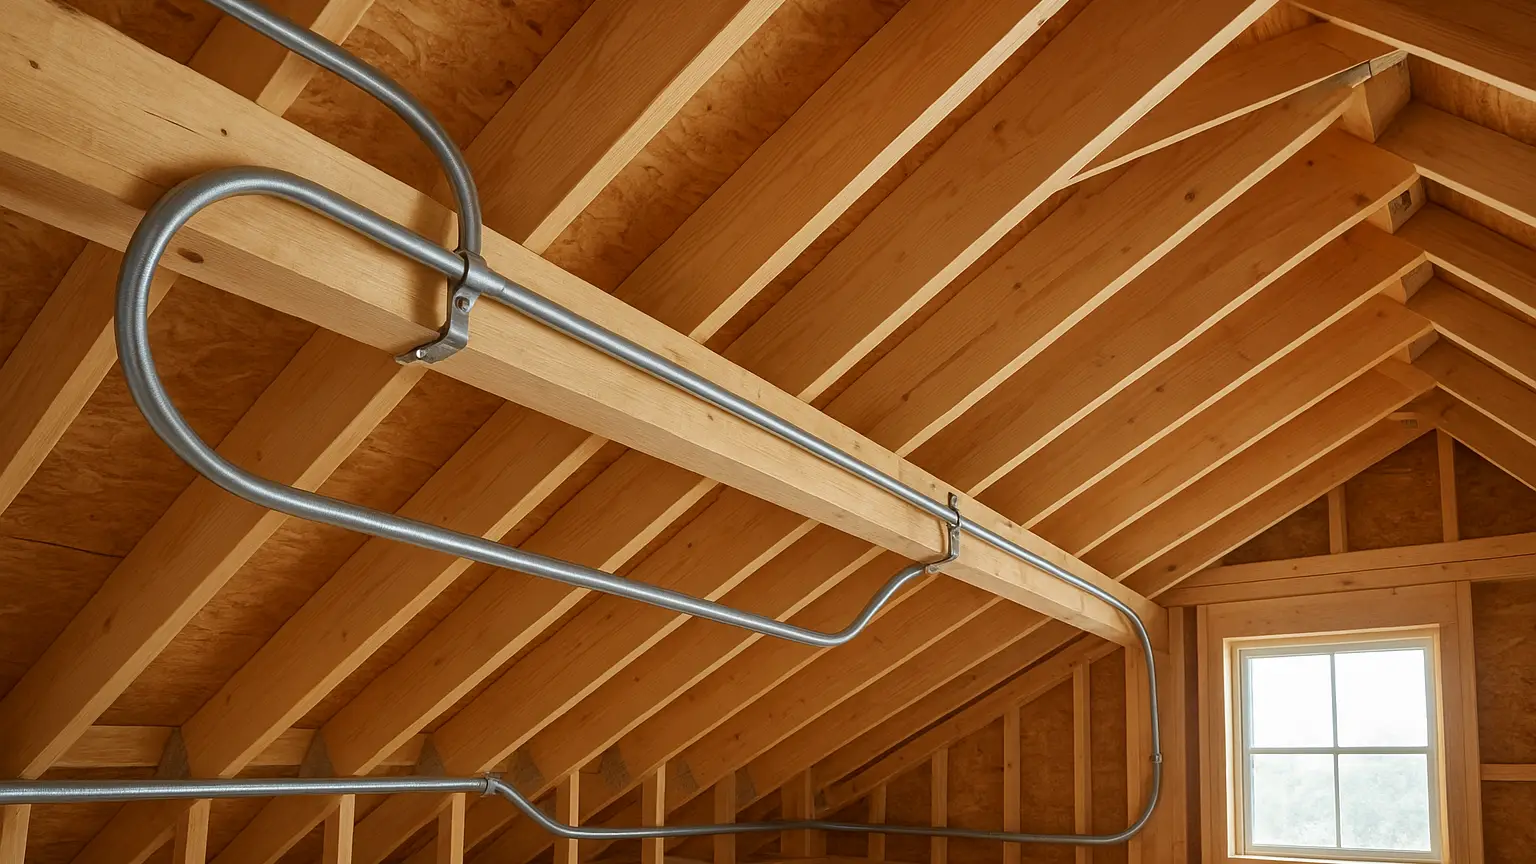
- "I want a conduit chase from the attic to the electrical panel." One and a quarter inch minimum, with pull string left inside, capped at both ends and labeled.
- "Leave a stub and a labeled junction box in the attic." Future installers should find the path in five minutes instead of guessing.
- "Reserve wall space near the main panel." Inverters and rapid shutdown gear need clearance. Do not let the washer, the water heater, or a new cabinet run eat that wall.
- "Size the service and panel for solar plus a car charger." Even if neither arrives this year, spare breaker slots cost almost nothing today.
- "Note solar mount locations before the underlayment goes down." Photograph the framing layout with a tape measure in frame.
Those six sentences are the entire ask. Most contractors will price it as a small change order, and many will absorb parts of it because it takes so little time when the crew is already there.
The Photo Everyone Forgets
Shoot your open framing and open walls, wide and close, with a tape measure or marked stud so distances are readable. When an installer bids your job in three years, that photo set does what a two hour inspection would do, and it eliminates the guesswork markup that comes with unknowns. Store the photos somewhere durable along with the electrical permit, the panel schedule, and the roofing product info. A folder with those four items is worth more at bid time than any brochure.
Roof Type Changes the Math
Not every roof reacts the same way to solar hardware, and the remodel is your one chance to choose with your eyes open.
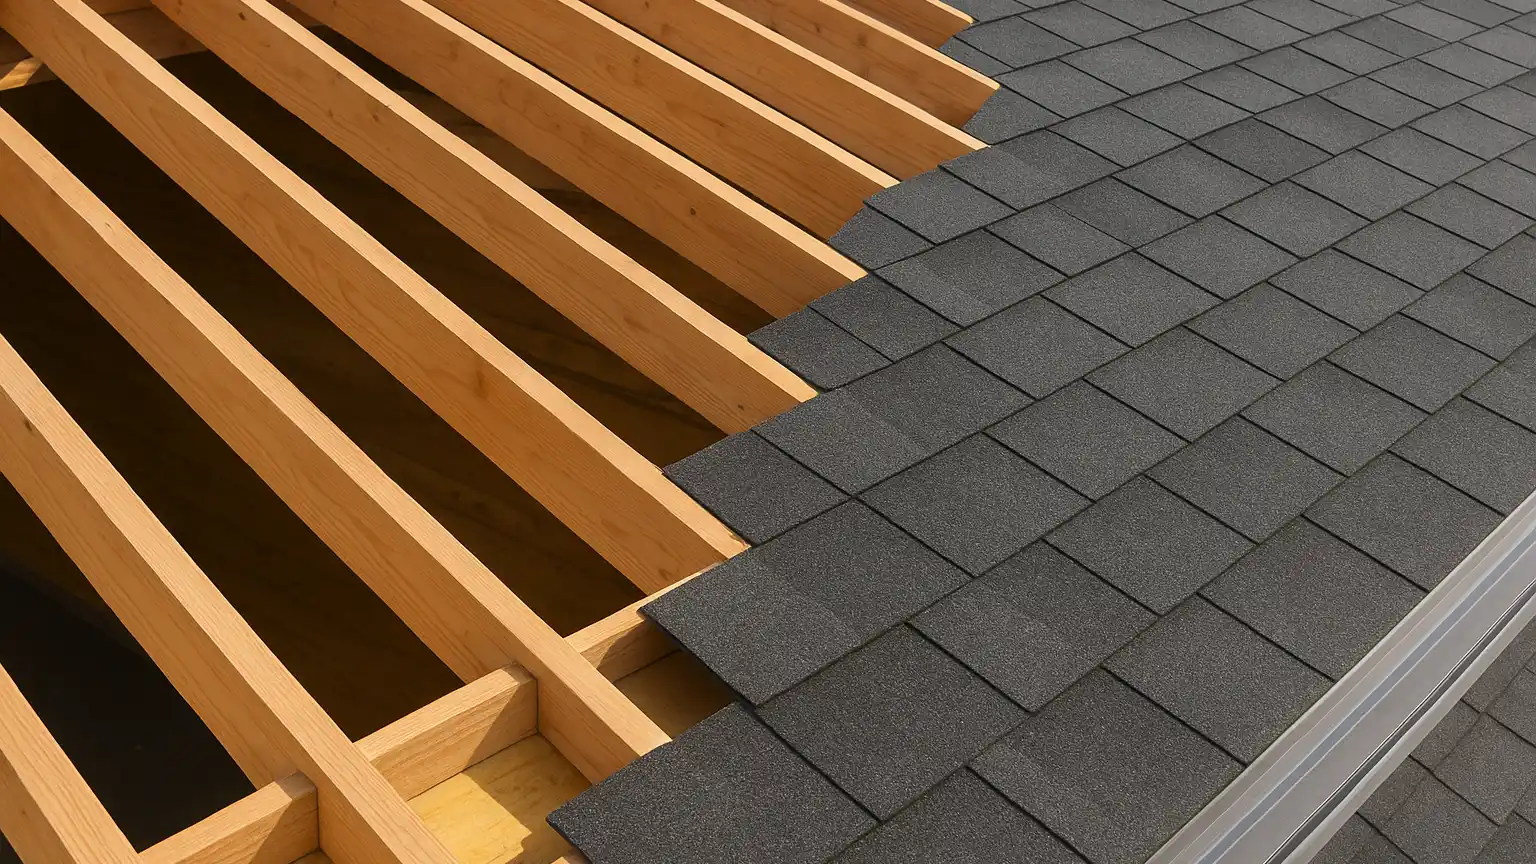
Asphalt shingle is the most forgiving. Mounts flash in cleanly, and replacement is affordable. Standing seam metal is the best long term choice because panels clamp to the seams with no penetrations at all. If you are already replacing your roof and metal is anywhere near your budget, the future solar savings are worth a second look, and homeowners who plan for battery storage down the road often find metal pays back twice.
Tile is where things get expensive. Tile mounts require specialty flashing and careful removal, and breakage during installation is normal. Clay and concrete tile roofs benefit most from prep work, because that is where retrofit labor bills climb fastest. Slate deserves a straight answer: many installers will not touch it. If slate is going on, the honest move is to plan a ground mount or a garage array and skip the main roof entirely.
Get a straight answer on scope, sequence and cost from a licensed Arizona remodeling team before anything gets torn out.
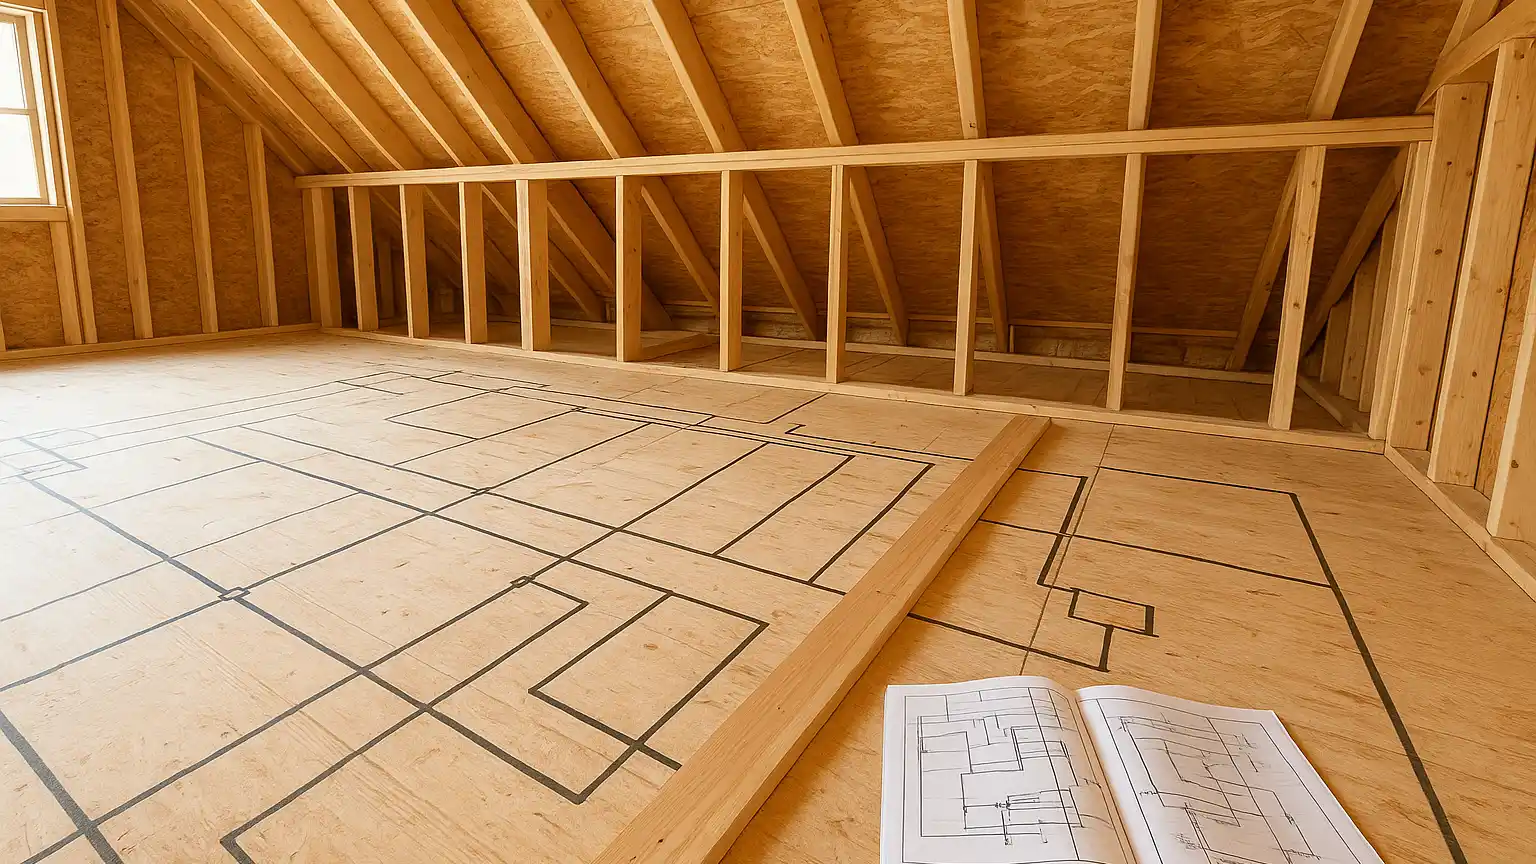
Season Decides Whether This Is Cheap or Chaotic
Roof work and framing exposure are weather dependent, and so is crew availability. Late spring through early fall is the sweet spot for open roof work in most climates, because dry stretches mean the deck can stay exposed long enough for an electrician to run conduit and a framer to add blocking without a tarp emergency. If you are planning next year's remodel, finish permits and drawings during winter so you can hold an early season slot.
There is a second window most people miss. Late winter and very early spring, before the busy season, is when framers and electricians have open days and price small add-ons fairly. It is also the calmest time to schedule an electrical service upgrade with the utility, before summer load season crowds the queue. What to avoid: booking roof exposure during your region's wettest month, and booking solar prep as a change order mid-project when the crew is already behind. Prep work costs almost nothing when it is planned, and plenty when it becomes an interruption.
A Simple Sequence That Works
- Eight to twelve weeks out. Tell your contractor solar prep is in scope. Get it into the drawings and the permit set.
- Four weeks out. Confirm the electrician knows about the conduit chase and panel sizing, and the framer knows about blocking.
- Demo week. Walk the site and point at the wall where the inverter will live. Say it out loud so nobody claims that space.
- Framing open. Photograph everything. Verify the chase is continuous and the pull string is in.
- Before the roof closes. Confirm reinforcement and mount blocking are actually installed, not just drawn.
- Final walkthrough. Get the chase labeled, the junction box tagged, and the photo set into your project folder.
The Three Days That Pay You Back for Twenty Years
Prep work is not a bet on solar. It is a bet on optionality. Utility rates move, incentive programs change, battery prices drop, and electric vehicles keep getting more common. The same logic runs through the rest of the envelope, where west-facing glazing upgrades are cheapest to make while the openings are already torn out. A house wired and framed to accept new equipment absorbs all of that without a demolition bill. A house that is not stays stuck with whatever was normal the year it was finished. That is why roofing crews increasingly see conduit stubs poking into attics on homes with no panels in sight.
Every remodel gives you a short stretch where your house is honest: framing visible, walls open, roof deck bare, trades already on site with tools out. During that stretch, solar readiness is a rounding error, a chase with a pull string, blocking between rafters, a slightly larger panel, and a reserved patch of wall. Miss it and the same items become a demolition project wrapped in patch and paint, quoted at retrofit rates by installers guessing at what is behind your finishes.
So put it in the scope before demo day, book the dry season slot while it is available, photograph your open framing, and get the labels written on the boxes. Whether you install panels next spring or in eight years, the house will be waiting, and the bid will show it.